
HOWTO run OmniOS under ESXi 5.1 and install VMware-Tools
Required software:
- VMware vSphere Hypervisor (ESXi) 5.1.0 with free licence
Build Number: 799733, Release Date: 10.09.2012
Source: Download vSphere Hypervisor ESXi Here - VMware vSphere Client 5.1.0
Build Number: 786111, Release Date: 10.09.2012
Source: Download vSphere Client Here - ESXi 5.1 update patch ESXi510-201212001
Build Number:914609, Release Date: 20.12.2012
Source: Download update patch ESXi 5.1 patch here - OmniOS stable release (omnios-33fdde4) OmniOS_Text_r151004.iso
Source: Download OmniOS Stable here
Installation of OmniOS as a Virtual Machine
Copy the installer image OmniOS_Text_r151004.iso to a datastore on the ESXi host using WinSCP or upload the file with the datastore-browser of the vSphere Client.
In vSphere Client create a new Virtual Machine
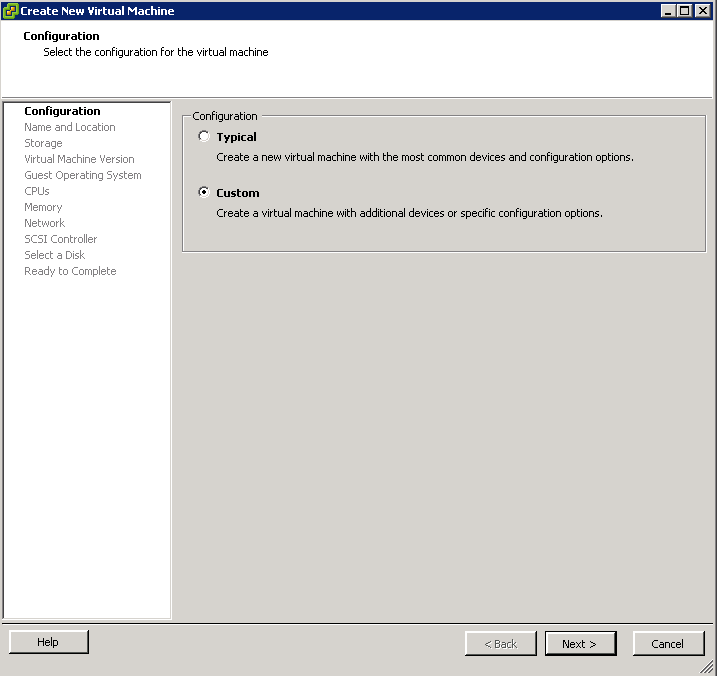
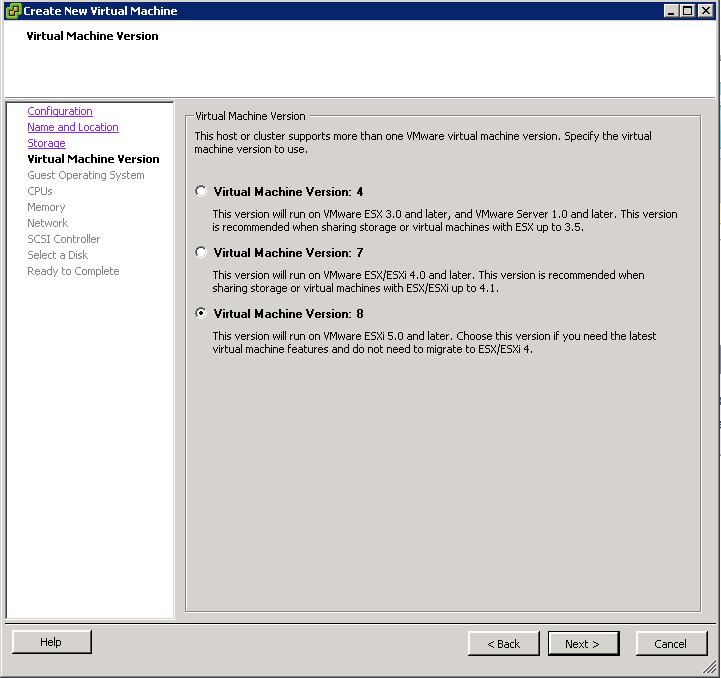
On the following pages chose a name for the VM, e.g. „OmniOS“, select the datastore for placing the VM files and select Virtual Machine version 8.
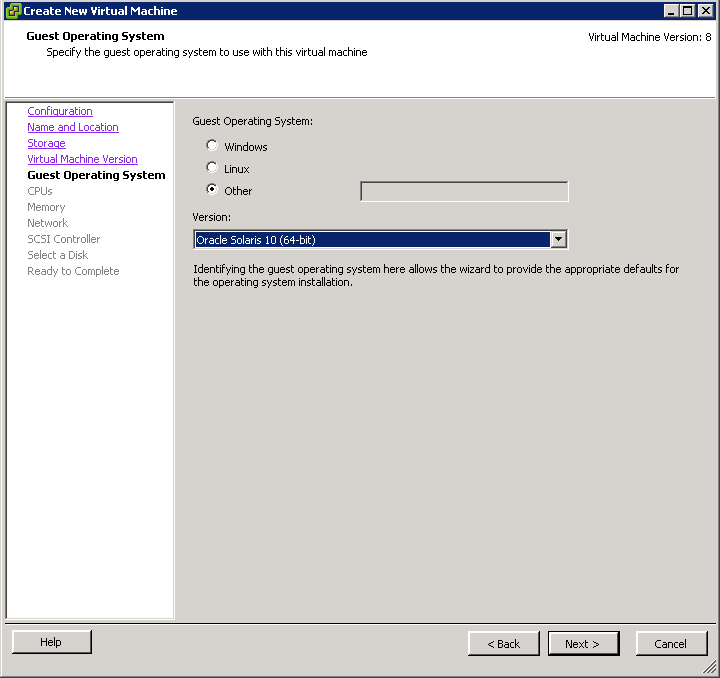
Select „Oracle Solaris 10 (64-bit)“ as the guest OS:
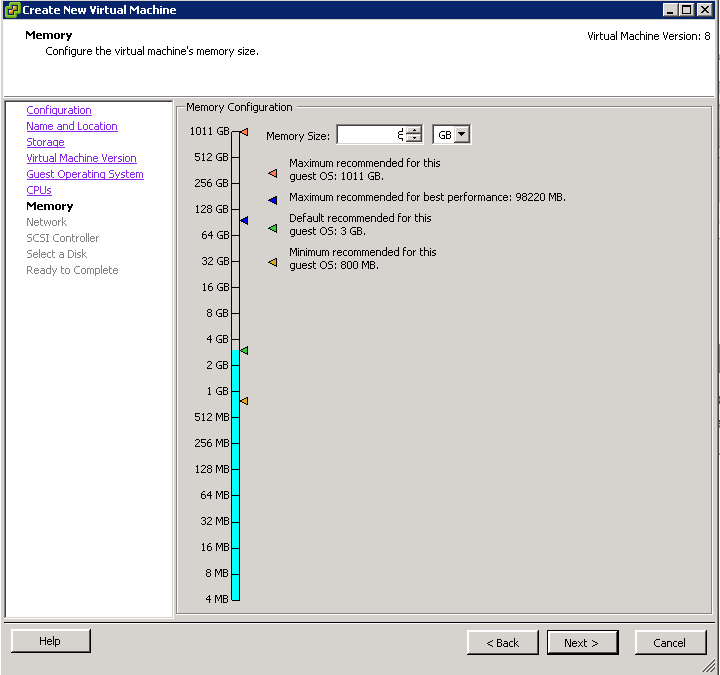
Next specify the number of CPUs, Cores and the amount of main memory.
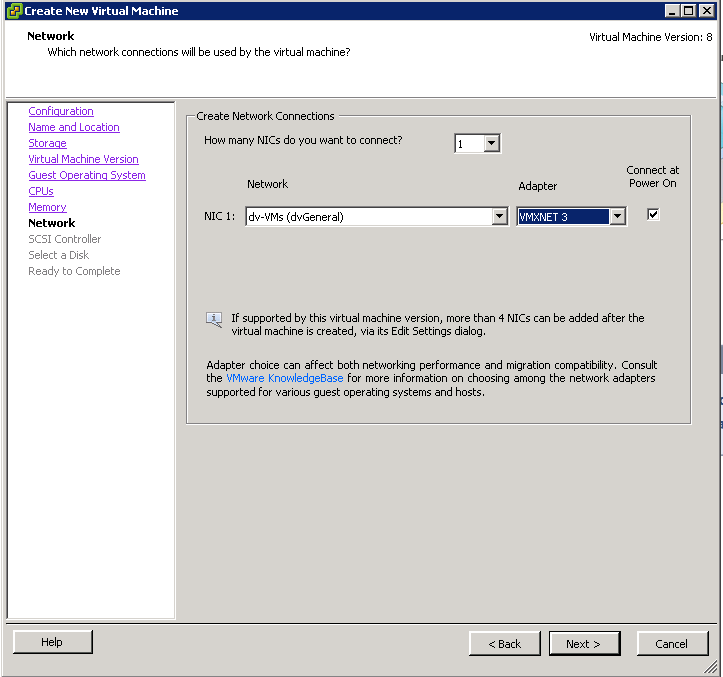
Select „VMXNET 3“ as the network adapter:
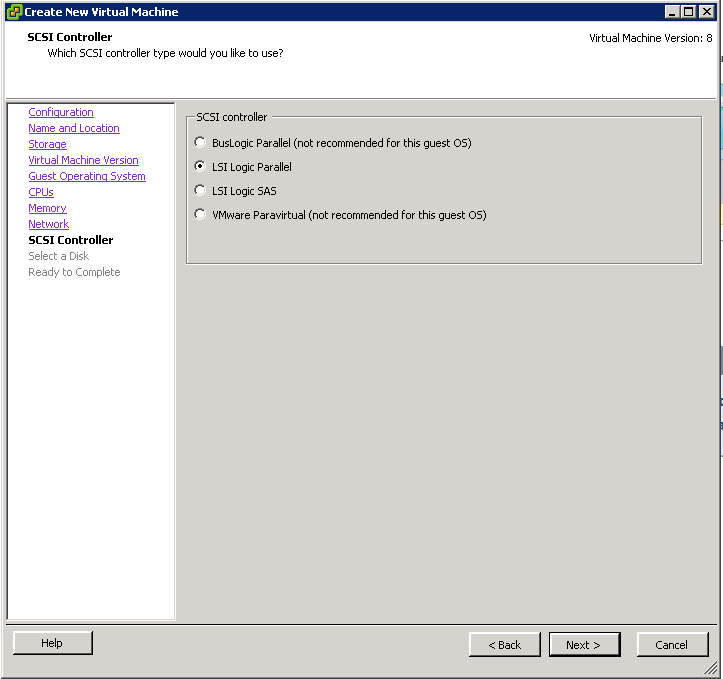
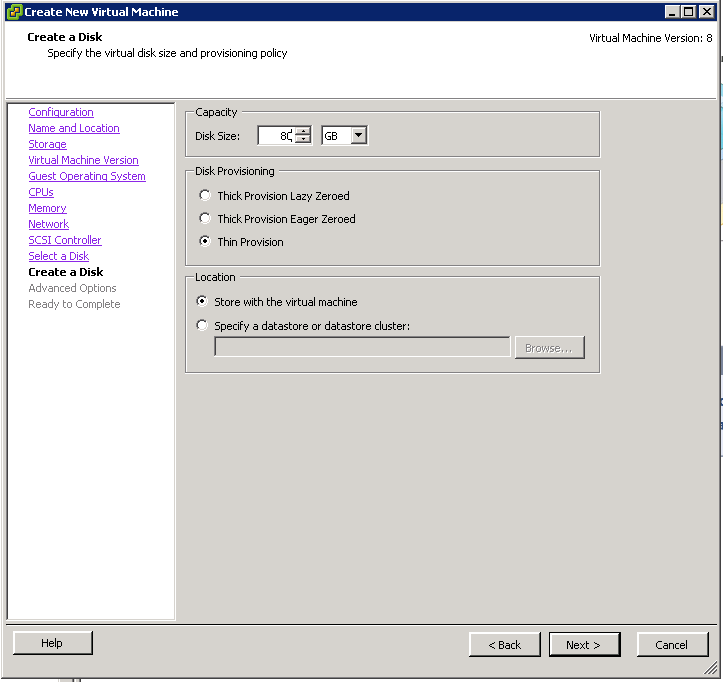
For the SCSI controller use „LSI Logic Parallel“ and chose to create a new virtual disk.
Regarding the disk size it is not necessary to go with the 80GB shown below.
The OmniOS Installer will later propose a minimum of 2.1GB and recommend 4.1GB.
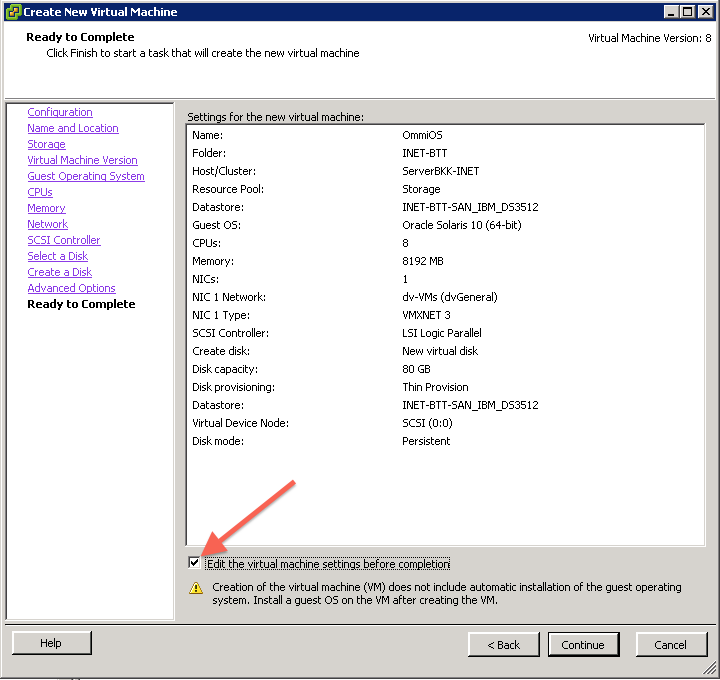
On the summary page select to modify the settings before creating the VM (3.):
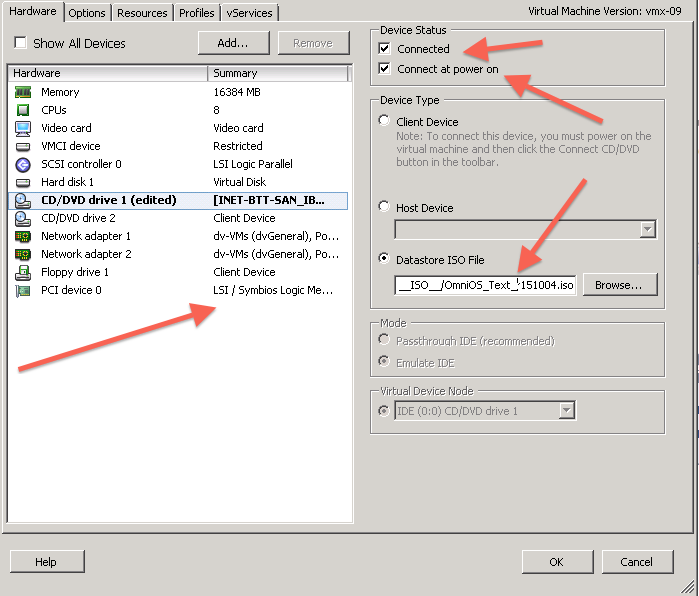
In the following dialog select the CD-/DVD-drive and specify to use an ISO-image. As the source chose the OmniOS_Text_r151004.iso file on the ESXi datastore (4.). Also select to connect the drive when powering on the VM (5.):
Finish the VM creation.
To start the installation select the VM in the inventory on the left side of the vSphere Client, right click and “Launch Console”. Press the start button on the VM console window.
This should start the OmniOS installer of the ISO-image which was previously connected to the CD-drive. Make your selection for the keyboard layout and chose option 1 to install OmniOS:
Select to use the whole virtual disk for the installation:
Continue with <F2> (instead of <Enter>).
In the dialog for entering the computer name we get the information that no wired network interface was found. This is because the network driver for the previously selected VMXNET3 adapter will only be available after installing the VMware-Tools later.
After selecting the timezone the installation starts.
Round about 2 minutes later it has finished and we reboot with <F8>. Login as „root“ without password:
Next in the VM settings (VM console window menu bar: „VM“ –> „Modify settings…“) select the CD-/DVD-drive and uncheck „connected“ and „connect at power on“.
Answer the following question with „Yes“:
On the OmniOS command line activate the hotplug service with:
svcadm enable hotplug
Start the installation of the VMware-Tools by selecting „VM“ –> „Guest“ –> „VMware Tools installation/update“ from the menu bar of the VM console window. The VMware-Tools CD has to be mounted manually.
For this enter:
ls –l /dev/dsk | grep ide | grep c\*s2
to search for the device of the virtual CD-drive.
The device-node „c1t0d0s2“ does represent the slice to be mounted. This might differ from case to case and has to be adjusted in the following.
Eg. Mount the CD-drive with:
mount –F hsfs –o ro /dev/dsk/c1t0d0s2/media
Unpack the VMware-Tools:
cd /root
tar xzf /media/vmware-solaris-tools.tar.gz
cd vmware-tools-distrib
perl ./vmware-install.pl --default
At the end you should have successfully installed the VMware-Tools version 9.0.1 build- 913578 for Solaris in the OmniOS Virtual Machine.
The message from „svcprop“ can be safely ignored, because the OmniOS VM doesn’t have a X-server installed. Therefore all components of the VMware-Tools dealing with the integration of the user interface, i.e. graphics, mouse etc. don’t apply to the OmniOS server distribution which is purely text based..
The message regarding „vmxnet3s0“ shows that a network driver was installed successfully for the VMXNET 3 adapter but still needs to be configured in another step.
dladm show-link
ipadm create-if vmxnet3s0
ipadm create-addr –T static –a <IP-address>/24 vmxnet3s0/v4
dladm show-link
dladm show-phys
route –p add default <Gateway-IP-address>
echo 'nameserver <Nameserver-IP-address>' >> /etc/resolv.conf
cp /etc/nsswitch.dns /etc/nsswitch.conf
Done!