How To Install Vesta Control Panel on Centos 6 / Ubuntu 12.04 LTS
Introduction
Vesta is an easy to use open source web hosting control pane that currently supports Ubuntu Linux (12.04 LTS, 13.04 and 13.10), Debian 7, CentOS (5 and 6), and RHEL (5 and 6). It packs a bunch of features by default to allow you to host and manage your websites with ease on your VPS.
1. Create and setup a CentOS 6 / Ubuntu 12.04 Box
Once you have your virtual server up and running, login via ssh with the user you created while configuring your vps. If you decide to log in as root, you can leave out the “sudo” command in all of the following commands.
Seeing that we have a new VPS running, go ahead and refresh the package indexes:
Ubuntu
apt-get update
Centos
yum update -y;
Now may also be a good time to upgrade any packages that might need it:
Ubuntu
apt-get dist-upgrade
2. Install Vesta
Next, we download the Vesta installation script:
CentOS and Ubuntu
curl -O http://vestacp.com/pub/vst-install.sh
After which we run this script:
CentOS and Ubuntu
bash vst-install.sh
The install script shows us some information on the software that will be installed:
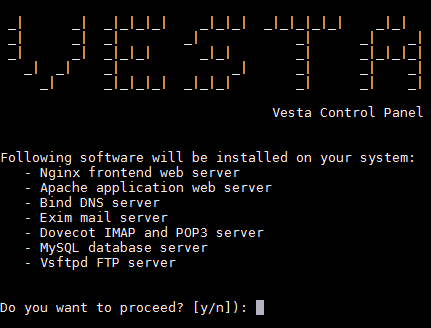
Press “y” and “enter” to proceed with the installation.
You will be prompted to enter a valid email address. Be careful to enter an address you have access to and double-check the address you entered for any typing errors, since you will not be prompted to confirm it. Vesta will use this address to try to send you your login credentials. Don’t worry if you have entered the address incorrectly. All the information you will need will be displayed in the terminal window after installation, and you will be able to change the admin email address as soon as Vesta is installed.
Upon completion, you will be presented with the following information:

Take note of the address, username, and password. You will need it to log in to the control panel.
————–NOTE—————-
If you gave the users sudo access, you might want to set that up again right now, since the Vesta installation overwrites the sudoers.tmp file to add some configurations. You can read about setting up sudo access in step four on the page.
If you don’t like the password that Vesta generated for you, you will be able to change it once you are logged in [or you can run the following command at any time]:
/usr/local/vesta/bin/v-change-user-password admin NEW_PASSWORD
Just replace NEW_PASSWORD with the password you would like to use for the admin user. The above command is also handy to reset your password, should you ever lose it.
3. Log in to Vesta
Now that Vesta is installed, open your browser and go to the address that Vesta gave you in step two. If you didn’t take note of it, the address will be as follows:
https://<your-server-IP-address-or-URL>:8083
Notice that the URL starts with https:// and not http://. This means that we are accessing Vesta over a secure connection. This secure (SSL) connection needs a certificate on the VPS to use for securing the data transport. Since we have not set up any certificates yet, an unsigned server generated certificate is used, which is why you will get a warning message from your browser similar to the one in the following screenshot:
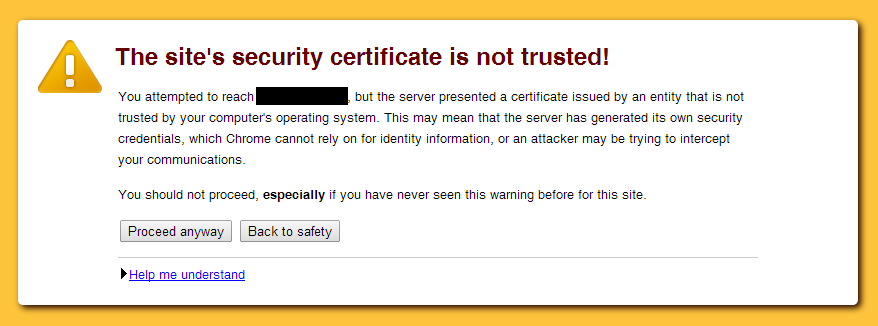
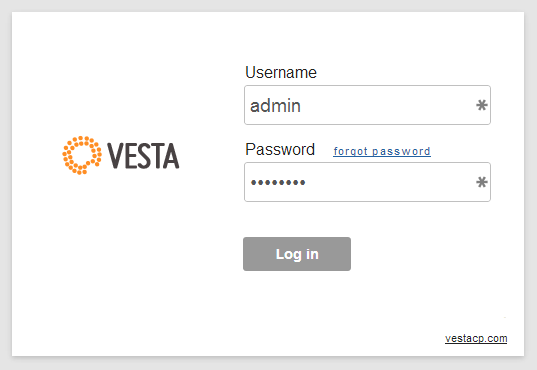
Just press “Proceed anyway” or the equivalent in your browser, after which you will reach the login page. Login using your credentials that you obtained in step 2:
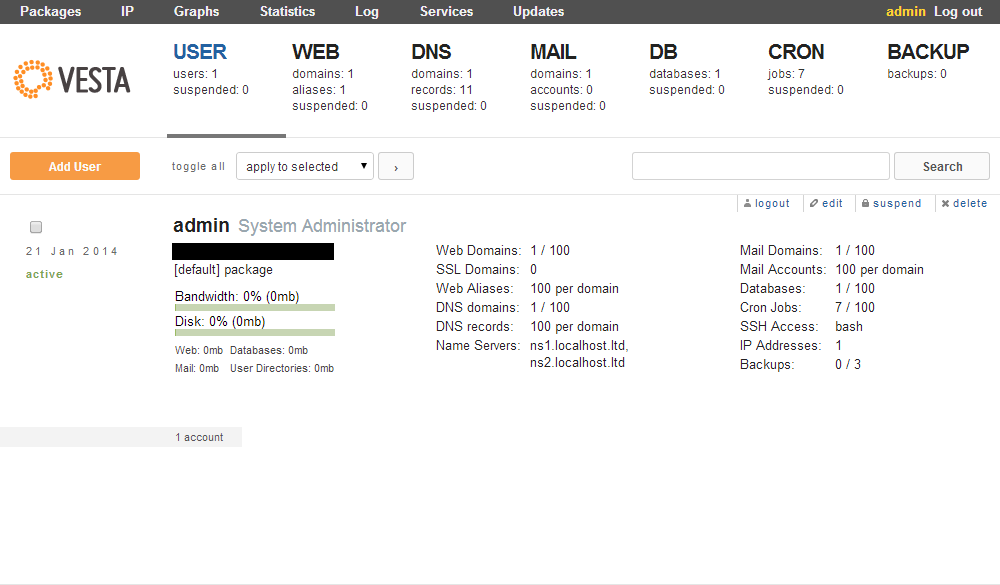
After logging in, you will be presented with the control panel where you can continue to configure users, web sites, DNS servers, databases, etc.